How to Install Zabbix on Ubuntu Server 16.04?
Zabbix is a great open source tool for monitoring servers mainly under the GNU/LINUX environment, specialized in networks with an important user base and an active community that is always contributing both in its development and in its support for users. Today we are going to install Zabbix on Ubuntu Server 16.04.
Note: The language in some of the screenshots is not in English but the command we have executed in English language. You just need to run the given commands and execution in your screen will show based on your preferred language set on the system,
Install Zabbix on Ubuntu 16.04
The first thing we have to do is update the system in order to have the latest security updates.
sudo apt update && sudo apt –y upgradeWith this composite command, we refresh the repository cache and at the same time say yes to updates.

Once you will enter sudo password in above screen, a series of transactions will be executed as shown in below screenshot.

Once we have the system updated, the next thing we need to do is to install a basic LAMP server to run the Zabbix and mysql frontend as database manager.
sudo apt install apache2 libapache2-mod-php7.0 mysql-server-5.7 mysql-client php7.0 php7.0-mysql php7.0-curl php7.0-json php7.0-cgi php-xml php-mbstring php-bcmath
Once you will execute above command, you will be getting a sequence of executions as shown in below image.

Once the LAMP server is installed, we must edit the php. ini file to set our time zone correctly. In my case “America/Caracas”.
sudo nano /etc/php/7.0/apache2/php.ini
Once you will execute above command, you will get below screen to edit the time zone. Inside the archive, we locate the part where the time zone is established and edit it with our own.

Now we will restart Apache service using below command..
sudo systmectl restart apache2.service
Now we must add the Zabbix repository, to do this we must download a. deb file hosted on their website.
wget http://repo.zabbix.com/zabbix/3.4/ubuntu/pool/main/z/zabbix-release/zabbix-release_3.4-1+xenial_all.deb
And then install it to add the repository.
sudo dpkg –i zabbix-release_3.4-1+xenial_all.deb

Now we must refresh the program sources cache and install zabbix packages. Run below command to update the repository.
sudo apt updateYou can see the execution of above command.

Run below command to initiate the execution.
sudo apt install zabbix-server-mysql zabbix-frontend-php zabbix-agentWe can see the installation in below image.

Configure MySQL
In this step we must configure mysql, skip this if you already had an installation before.
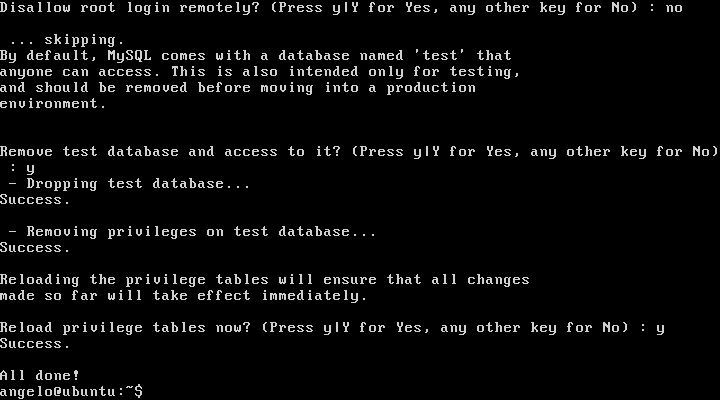
sudo mysql_secure_installation
To the questions we must answer yes or no according to our needs. For this tutorial, the answers to these questions are no problem. The important thing is to remember the Mysql root password.
Then we must log in to Mysql when entering the command, we must enter the root password.
mysql –u root –pOnce inside, we must create the zabbix database.
CREATE DATABASE zabbixWe then create and give permission to a new Mysql user to use zabbix. This is a good security practice for our server.
GRANT ALL ON zabbix TO ‘zabbix’@localhost IDENTIFIED BY ‘zabbixpss’;Replace’ zabbixpss’ with another username if you prefer, and’ zabbixpss’ with another password. you can see all above steps in below command.

Next we must “copy” the configuration of Mysql to the new zabbix user.
zcat /usr/share/doc/zabbix-server-mysql*/create.sql.gz | mysql –u zabbix –p
However at this point I got the error of “No database selected”. Don’t worry, we’ll figure it out. To fix error 1046, we must first copy and unzip the MySql creation file.

And then edit the “create.sql” file, we just must add USE zabbix; at the beginning of the file.
nano create.sql
Save and we will be able to import the file.
cat create.sql | mysql –u zabbix –p
This completes the configuration process of the database manager.
Now we proceed to edit the configuration file of zabbix to add the database parameters that the application will use.
sudo nano /etc/zabbix/zabbix_server.conf
Verify below parameters from below screenshot.
DBHost=localhost
DBName=zabbix
DBUser=zabbix
DBPassword=zabbixpss
These parameters are the ones that we have to locate in the archive and change for the positions.

Then we must restart Apache2 and Zabbix services.
sudo systemctl restart apache2.service
sudo systemctl restart zabbix-server.service

Configure Zabbix
Now, it’s ready. We have to go to our web browser and access from the ip address of the server computer.
http://IP_ADRESS/zabbix
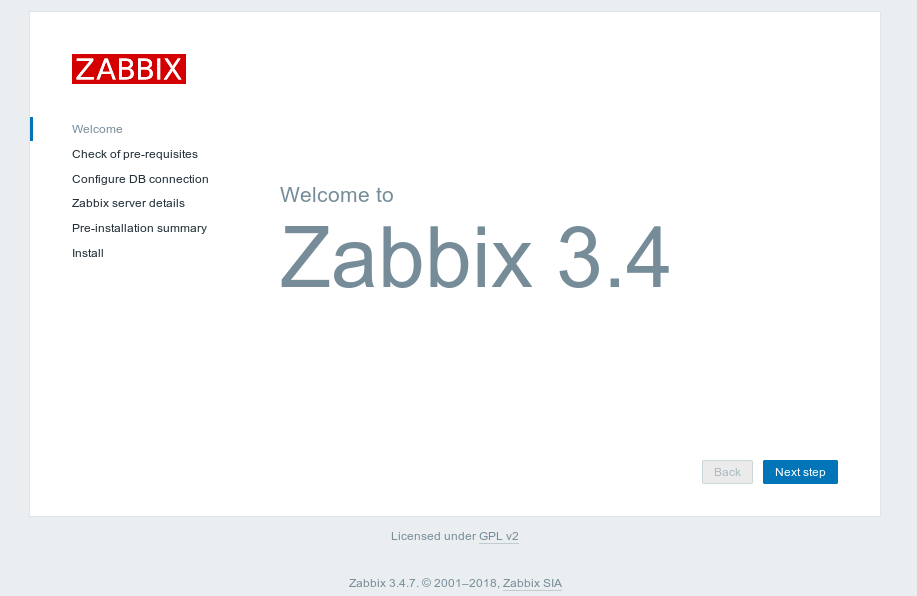
Then we proceed to configure it, pressing next. We check that all prerequisites are satisfied.

In this screen we must configure the database parameters that we have made in the previous steps.

Then you have to configure the server parameters. In this case, we leave it the same way.


In the end if everything is correct we should see a screen like this.

Finally we can now access through the following form:

Username: admin
Password: zabbix
And after that, we’ll have the main view with our zabbix running on the server.

As a conclusion we can say that Zabbix is a great open source application for server monitoring, its installation in server is relatively simple and is very useful to all system administrators.
Read More:
- How to Install and Use HTop on Linux system?
- Installing PgAdmin 4 on Debian Stretch
- RHEL Interview Questions and Answers

- How to Use CAT Command on Linux System? - April 24, 2018
- How to Install Zabbix on Ubuntu Server 16.04? - March 29, 2018
- 11 Examples of ls Command to List Files in Linux - March 20, 2018